Arduino Prop Bomb
Design of a prop bomb with a chronometer, button, and 8x32 LED matrix display.

Things used in this project
Story
One day I was sitting at my computer, with some caffeine in my body since I was studying for my microcontrollers exam. Suddenly and without warning, I received a notification of WhatsApp on my cell phone, the message came from the theater teacher in the high school section of my university, the message contained a request for me to design a prop bomb for a theatre play, to which I replied that I would do it without problems.
I met with the professor one day at the university to agree on the characteristics that the pump required and so I could make sure I could do all of them in the project. After a long talk about the theatre play and the characteristics of the bomb, I came to the conclusion of what the final design should look like.
The Project:
I agreed with the professor that the pump should have the following characteristics.
- Be wireless.
- Have a striking display with a decent chronometer.
- Start and stop through a button.
- That on the outside of the box there was only the display and the button.
Due to the simplicity of the project, it is obvious that you make the decision to use an Arduino UNO (Image A) to perform these functions, although any microcontroller assigned to this task can work well.

A. Arduino UNO board.
The first task I did for this project was to find the right button for activation, I knew perfectly that a simple push button was not flashy enough for a "movie" bomb, so looking through my electronic components I found the following button (Image B).
Once with the button ready, I decided to use the pull up configuration (Image D) for buttons in digital circuits, using the internal resistance of the arduino board as shown in the following diagram (Image C).

1 / 3 • B. Push button physical
For the display, things got a little complicated, because you needed a much more striking screen than an simple LCD, so as an alternative, I got a much larger LED matrix 8x32 (Image E, F and G) but difficult to control, for this project it was decided that the connections are made as shown in the diagram (Image H and I), however it is possible to change the pins in the code to any digital pin..

1 / 5 • E. Knacro max7219 dot matrix (Front)
For everything to work properly, you must install the following libraries:
- MD_Parola
- MD_MAX72xx
- PushButton
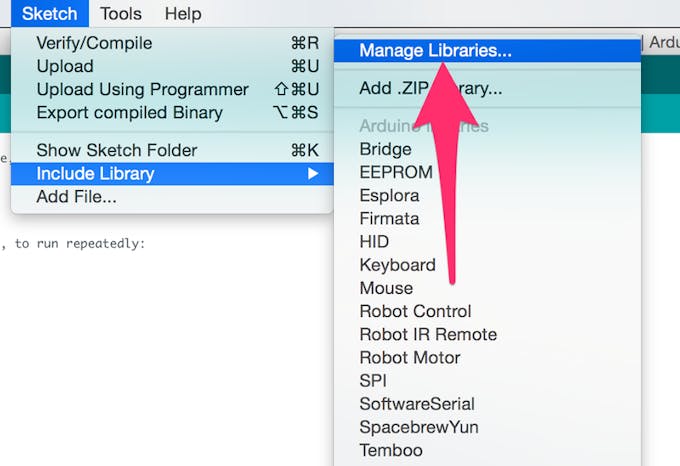
You can download it from Sketch-> Include Library-> Manage Libraries (Image J and K).

1 / 2 • J. Add Library.
Once the libraries are installed, the program should work without problems.
The Result:
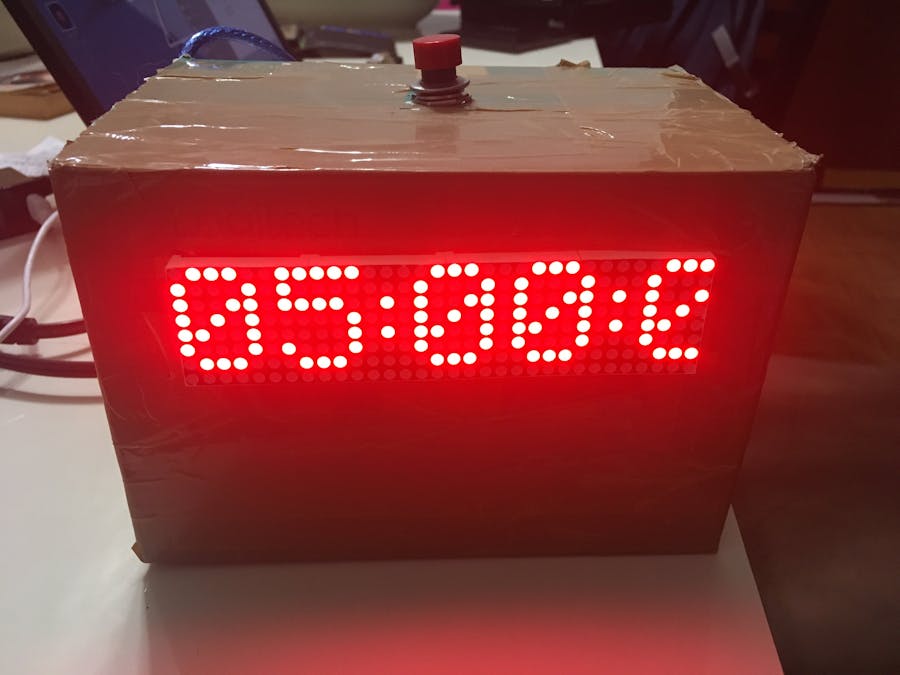
Once all the connections are made, we assemble everything together inside a cardboard box, to give it the shape of a film bomb.

1 / 4 • L. Assembled Bomb.
As a source we will use the powerbank so that the bomb works wireless.


ไม่มีความคิดเห็น:
แสดงความคิดเห็น